Vcenter 6.0 Installation
This post describes how to install vCenter 6.0 on Windows
vCenter Server requires a 64-bit operating system such as Windows 2008 R2, Windows Server 2012 and Windows Server 2012 R2.
Please do check the hardware and software requirements for the vCenter installation.
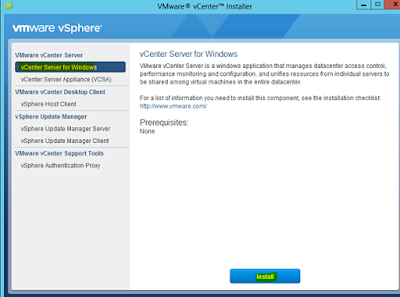
Step 1: Mount the vSphere 6.0 installation media. The installation wizard appears. In the left pane select “vCenter Server for Windows” and click on Install.

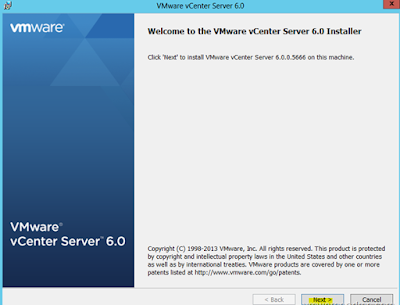
Step 2: Click Next to proceed
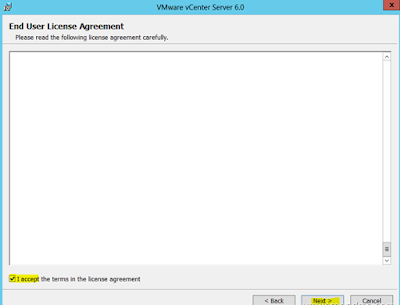
Step 3: Accept the License agreement and click Next to proceed
Step 4: Select the deployment model.
Note: Refer https://kb.vmware.com/selfservice/search.docmd=displayKC&docType=kc&docTypeID=DT_KB_1_1&externalId=2108548
before going ahead with the Embedded or External PSC.
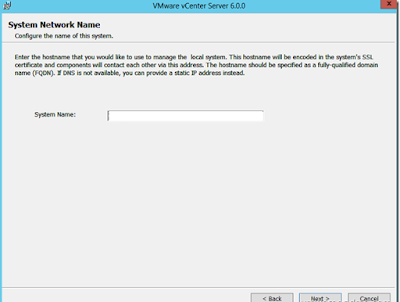
Step 5: Enter the hostname.
Note: This hostname will get embedded in the system’s SSL certificate and all components will contact each other via this address.
Make sure to use the FQDN or static IP, as once you are done with the installation, you can not change the name or IP, if you want to then the reinstall of the PSC would be required.
Step 6: For Single Sign on configuration enter your domain name & password.
Note: You will need below user name & password while configuring vCenter Single Sign On, so keep note of password.
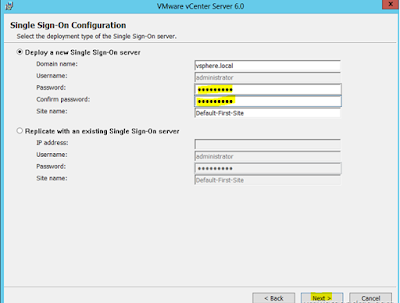
Step 7: Specify the account for vCenter service. (We have used local account for the installation.)
Step 8: Select the database you want to use. (We have used the embedded one)
Step 9: Configure the ports, if you do not want to use the default one.
Step 10: Select the location to install vCenter
Step 11: Click Install
Step 12: Click finish to complete the installation
Step 13: Access the installed vCenter through web client.
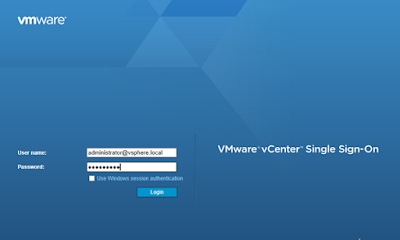

Note:- Flash player 11.9 or higher is required for Vsphere 6.0 web client.


Comments
Post a Comment